

You landed. Make one decision first
Welcome to Japan. You do not need to solve your whole trip in the airport. First decide whether you are entering Japan or connecting to another flight. If you are entering, follow the arrivals process, collect your checked bag if you have one, complete any relevant inspection, then choose a sensible way to reach your hotel.
Keep your passport, boarding details, baggage claim receipt and first-night address close. A written or offline copy of the hotel name and address is useful when your phone has no signal. A screenshot helps you find information; it never replaces a passport or a required procedure.
Entering Japan?
Follow Arrivals / Immigration. Complete the entry process, collect checked bags if you have them, complete any relevant quarantine checks and Customs, then enter the public arrival hall.
Connecting to another flight?
Follow the Transfer signs for your itinerary and ask airline staff if unsure. International-to-international and international-to-domestic transfers can use different routes. Your airline determines what happens to checked bags.
Your route at a glance
For an ordinary international arrival into Japan, the broad order is immigration, baggage, relevant animal or plant quarantine, Customs, then the public arrival hall. After that, solve internet or cash only if you need them, pick transport, and reach your hotel. The old five-step view still works: immigration → bags → Customs → connect and pay → first journey. The fuller path below shows where the decisions sit.
- Arrive
- Entry or transfer?
- Immigration
- Baggage
- Quarantine if needed
- Customs
- Arrival hall
- Transport
- Hotel
This is the entering-Japan route. Transfers, health directions and airport equipment can change the order. Follow the signs and staff for your flight.
Health directions, integrated kiosks and airport layouts can shift what you see first. If your journey includes a flight connection, ask the airline whether you need to enter Japan, collect and recheck a bag, or stay in the transfer route.
Varies by airport or airline: There is no single baggage or transfer rule for every ticket.
Follow the next sign, not the crowd
As you leave the aircraft, look for Arrivals, Immigration or Transfers. Match the sign to your own itinerary. A crowd may be headed for another flight or a different passenger lane. If the signs split and your ticket is unclear, show your boarding pass to airline or airport staff before committing to a route.
Once you choose the arrivals path, keep your passport accessible and follow staff directions for any health check or queue. Major airport guides describe a similar journey, but the terminal, level and kiosk placement can differ. You do not need to memorize a floor map before you land.
At immigration: passport first
Join the lane indicated for your travel status. Have your passport and any requested entry information ready; the officer or on-site instructions decide what else to present. Some travelers will be directed to a kiosk, a staffed counter or another procedure. Follow the route shown at your airport.
Japan’s Immigration Services Agency makes the landing decision. An online form, visa exemption or previous visit does not guarantee admission for this trip. If staff need to ask a question or check a document, answer as directed. There is no useful shortcut around this step.
Visit Japan Web: useful, but not the only path
Visit Japan Web is the Digital Agency’s official online service for arrival information used in immigration and Customs procedures. If you registered before travel, keep your code accessible and turn up your screen brightness when a scanner asks for it. An integrated kiosk at some airports may collect information for both procedures, but you still follow the separate inspection directions afterward.
If you did not use Visit Japan Web, do not assume you cannot enter Japan. Follow airport staff’s instructions for immigration information. Japan Customs confirms a paper Customs declaration remains available. Ask staff where to get and submit it. Our Visit Japan Web guide covers registration; this page stays with what happens after landing.
Varies by airport or airline: Electronic terminals and accepted paths differ by airport and traveler. A code is not a visa, a passport substitute or permission to skip inspection.
Find your checked bag
After immigration, find the baggage carousel shown for your airline and flight number, not merely the city you flew from. Keep the baggage claim receipt you received at check-in. Before pulling a familiar-looking suitcase away, compare its tag or identifying details with yours.
If you checked no bag, follow the signs onward. If you are connecting, do not assume the bag will be delivered here—or sent through automatically. Your carrier and the ticket arrangement determine the handling.
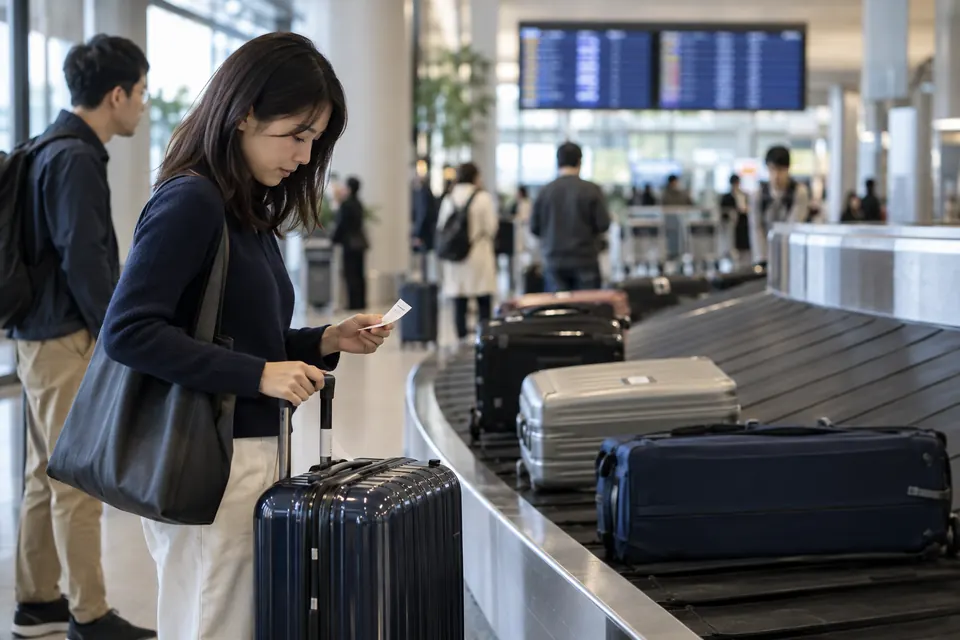
If your bag is missing, report it before leaving
If the belt has stopped and your bag is not there, go to the airline’s baggage desk or its ground-handling staff in the claim area. Show the baggage receipt and explain your flight and bag description. If the bag is damaged, raise that with the airline there too. Do this before you leave the baggage area.
Ask for the report or reference the airline uses, write down its contact route, and confirm the hotel address and phone/email where you can be reached. Keep essential medicine, documents and chargers with you whenever possible. Whether a bag is found, delivered or compensated—and what paperwork is needed—depends on the airline and your circumstances. Do not rely on a promised delivery time you have not received from the carrier.
Animal and plant checks, if relevant
If you are carrying meat products, plants, seeds, fruit or similar goods, follow the appropriate Animal Quarantine or Plant Quarantine signs before Customs. The exact item and its origin matter. Cooking, vacuum packing or buying something at an airport does not automatically make it importable.
Tell the relevant officer what you have and follow their inspection instructions. Japan’s Animal Quarantine Service and Plant Protection Station are the sources for item-specific restrictions. Our Before You Go guide explains what to check before packing; this arrival guide does not approve any particular item.
Complete your Customs declaration
All passengers entering Japan must declare their belongings to Customs. If you prepared the electronic declaration in Visit Japan Web, use the process indicated at your airport. If you are using paper, ask for the Customs declaration form and follow the staffed route. Even an electronic declaration can be followed by an inspection.
If you are uncertain about an item, tell a Customs officer rather than guessing which route applies. Keep your bags with you and follow the officer’s instructions. When the procedure is complete, you enter the public arrival hall; this is where meeting points and transport choices usually become easier to see.
In the arrival hall, pause once
You are through the formalities. Take a breath, find a spot away from the exit flow, and check four things: your connection, your ability to pay, your luggage, and the route to your exact hotel. You may already have all four solved. If so, head to transport; there is no prize for visiting every counter.
In the arrival hall, solve only what you need now
- Already connected and ready to pay?
- Go straight to your transport plan.
- Need internet?
- Try your planned roaming, eSIM or pickup; use airport Wi-Fi or an information counter where available.
- Need yen?
- Check an ATM or exchange option, the fees and a backup card before you leave.
- Large bags?
- Compare a direct ride with forwarding, if a suitable counter and delivery date are available.
Look for an information counter if the terminal or transport stop is unclear. At large airports, rail, bus and taxi may leave from different floors or buildings. Use the airport’s current signs and official access map for your terminal, not a generic map of “the airport.”
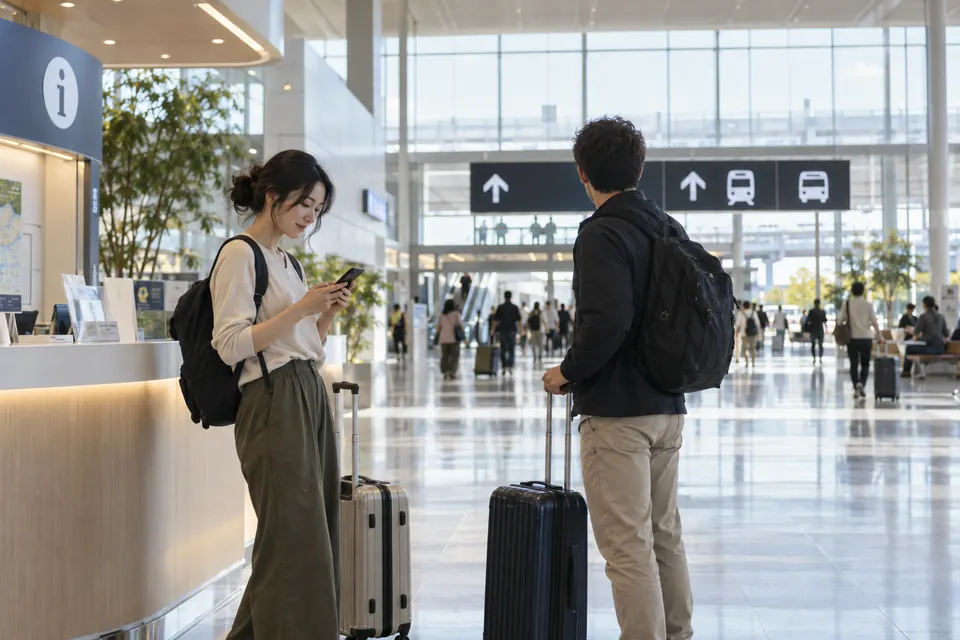
Get connected only as much as you need
If your roaming or travel SIM/eSIM already works, open your hotel address and route, then move on. If it does not, try the setup steps from your own provider. Where available, airport Wi-Fi can help you open those instructions or message your hotel. A pre-booked router or SIM may have a specific pickup counter and operating hours.
If you cannot get online, use the address you saved offline or wrote down. Airport information staff can point you toward available communications services; they cannot fix every plan or device. Do not lose the evening to troubleshooting a data plan when a simpler route to your hotel is already possible.
If your phone still has no data connection, use the troubleshooting steps in our Internet in Japan guide when you can get online.
Do you need yen before leaving?
Maybe. Check how you will pay for the first journey and the last leg to your hotel. If you have a usable ticket or card and another payment backup, you may not need to stop. If your first transport or accommodation requires cash, find an ATM or exchange service before leaving the terminal.
Read the ATM’s supported networks, fees and currency choice before confirming. Keep another payment route in case a card fails. There is no universal “correct” amount of yen to withdraw on arrival, and an airport ATM cannot guarantee your particular card will work.
Do you need a Suica or other IC card now?
Only if it suits your first journey. An IC card can make compatible transport easier, but a paper ticket or another accepted ticket can often get you started. The cards sold, where to get one, mobile-device support, charging and refunds vary by operator and product.
Decide after you know your airport route, railway company and ticket needs. If a train requires a reservation or an additional ticket, an IC balance alone may not cover it. The Suica and IC cards Complete Guide handles the detail; there is no need to learn every card system beside the baggage carousel.
Should you send luggage ahead?
Some airports have delivery counters that can send a suitcase to a hotel or another address. This can help if you have a difficult transfer, but confirm the destination, acceptance by your hotel, price, cutoff and expected delivery date with the actual operator before handing over the bag. Keep medicine, valuables, passport, chargers and what you need tonight with you.
Counter locations and hours vary by terminal. Same-day delivery may exist for a limited area and cutoff, but it is not a general promise. If the timing does not fit, keeping the bag with you and choosing a simpler transport route is a perfectly reasonable plan.
Choose one way to leave the airport
Search the full hotel name and address, including the branch if a chain has several properties. Then compare the route’s final walk, transfers, luggage handling and last departure—not just the headline travel time. A direct bus or taxi may save effort; a train may work neatly if it stops near your hotel. Your best choice depends on this trip.
Train
Useful when rail serves your destination well and transfers are manageable. Check the correct station, ticket type and last service.
Airport bus
Useful when a stop serves your hotel or neighborhood with fewer transfers. Check the exact stop and final walk.
Taxi
Useful for a late arrival, heavy bags or a difficult last mile. Use the airport stand or your reserved pickup and confirm the full address.
None is always the cheapest or easiest. Compare the current route, schedule and total effort.
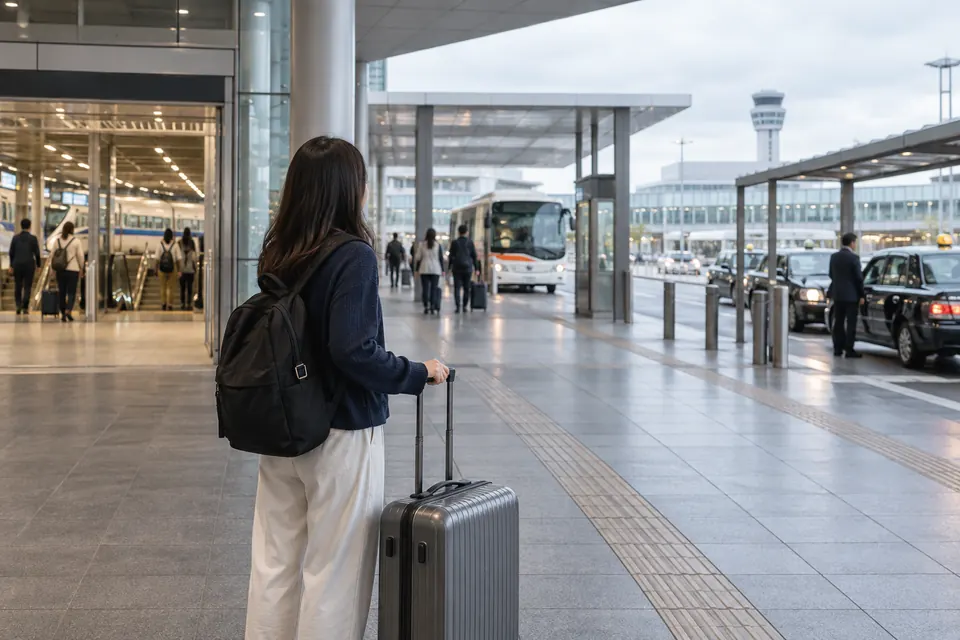
Taking an airport train
Follow the rail signs for your actual terminal. At the ticket machine or counter, check the operator, destination, service type and whether you need a separate reservation or limited-express ticket. On the platform, match the displayed train and its stops with your route. Keep the final transfer and station exit in view.
Check the current last train before you walk to the station, especially after a delayed flight. The ordinary train Complete Guide covers gates, platforms and transfers. If your onward journey later involves a Shinkansen, use the Shinkansen Complete Guide for that separate ticket and boarding process.
Taking an airport bus
Find the bus for your destination or stop, then verify the boarding area and last departure. Tickets may be sold at a counter, machine, online or on the bus depending on the operator and route. Reservations can also vary. Ask how your suitcase is handled and keep any baggage claim slip given to you.
Check how far the stop is from your hotel. A bus that goes to the correct neighborhood can still leave a difficult walk at the end. If the route is unclear, show the stop and hotel address at an information or ticket counter before buying.
Taking a taxi
Use the airport’s marked taxi stand or the designated pickup point for a taxi you have properly reserved. Haneda, for example, distinguishes ordinary stands from app-dispatched or reserved pickup stands. Show the driver your hotel’s full name and address, ideally in Japanese, and check that it is the correct branch.
Some airports or operators offer fixed-fare routes; others use a meter, and tolls or late-night charges can change the total. Check the current airport and operator information before relying on a quote. A taxi can simplify a late arrival or heavy-luggage trip, but it is not automatically the right answer for every distance or budget.
If you land late at night
Before leaving the arrival hall, check the last train and bus for your date, not yesterday’s search result. A delayed landing or long entry queue can erase a connection. If public transport is finished, compare a licensed taxi, a properly booked ride or an airport-area hotel that can actually receive you. Confirm the hotel’s check-in arrangement and the transport cost before committing.
Do not assume a terminal offers a comfortable overnight waiting area, or that every counter will stay open. Kansai Airport’s late-night page shows how airport-specific these options are. The Before You Go guide recommends saving a late-arrival fallback before flying; now use the real timetable.
From station or stop to the hotel door
When you arrive in the city, compare the hotel address with the station exit, bus stop or taxi drop-off. Large stations can have many exits, and the closest-looking exit on a map may not be the easiest with luggage. Check the street-level direction before walking away from the station.
If you are uncertain, stop in a safe, well-lit spot and ask station staff or an information desk. Show the written address; do not rely on a hotel name alone. A short taxi for the final leg may be sensible if the route is awkward or you are exhausted.
Reach the right hotel and check in
Match the full property name, address and branch with your booking before entering. At reception, have the booking confirmation and the identification the property requests ready. Check-in time, late-arrival handling and payment depend on the property and reservation, so use your booking terms rather than a universal hotel rule.
If you are late or your route has changed, contact the property using the details on your confirmed booking where possible. Once you are inside, check tomorrow’s first move only if you need it. The rest of the trip can wait until you have rested.
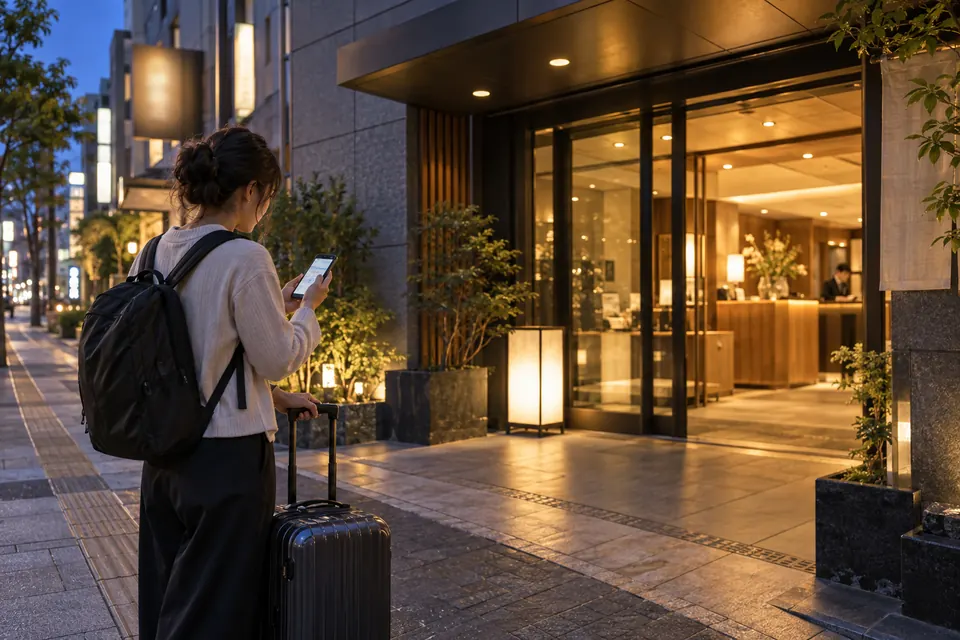
Phone dead, lost or simply exhausted?
Phone battery dead: use the hotel address and booking details you saved on paper or offline. Ask airport or station staff where a charging option is available, but do not depend on finding a compatible charger. Keep your passport and booking reference together.
Lost or confused: pause at an information desk or staffed counter. Show the hotel address or the transport stop you need. If your phone works, the existing Show This Screen tool can help with reviewed phrases such as asking about a station platform; it is not a guarantee that every destination phrase is published.
Exhausted: choose a route you can follow, even if it is not the theoretical fastest. Reduce transfers, confirm the final stop, and deal with optional errands tomorrow. A hard travel day does not require a perfect travel plan.
One last check, then enjoy the first evening
Use this small checklist as you go. It is saved only in this browser and can be reset. It follows the arrival journey rather than trying to turn the entire article into boxes. If you are connecting instead of entering Japan, use your airline’s transfer instructions in place of the entry steps.
Once you know how to reach your first hotel, you have done the important part. Need transport detail later? Keep the Suica and IC cards, ordinary trains and Shinkansen guides for the journey that actually applies. For urgent problems, open Help Now.
Useful Japanese at the airport
These are words you may see. Pointing to the written Japanese can be easier than trying to pronounce it after a long flight.
- 到着
- tōchaku
arrival - 入国審査
- nyūkoku shinsa
immigration inspection - 乗り換え
- norikae
transfer - 手荷物受取
- tenimotsu uketori
baggage claim - 税関
- zeikan
Customs - 申告
- shinkoku
declaration - 案内所
- annaijo
information desk - タクシー乗り場
- takushī noriba
taxi stand - 両替
- ryōgae
currency exchange
Questions you may have after landing
Do I need Visit Japan Web after landing?
Can I use paper forms instead?
What happens at immigration?
Where do I collect my luggage?
What if my checked bag is missing?
Do I need to declare food or medicine?
Should I get cash at the airport?
Should I buy Suica at the airport?
My eSIM is not working. What can I do?
Train, bus or taxi: which should I take?
Should I send luggage to my hotel?
What if I land late at night?
What if my phone battery dies?
What if I have a connecting flight?
Do I need to reserve an airport train?
Can a taxi take me directly to my hotel?
I cannot find my hotel. What should I do?
What should I do first at the hotel?
Sources & checks
Sources checked 25 Sept 2026. For changing details, confirm with the responsible organization.
- Immigration Services Agency · Landing procedureForeign visitors undergo landing examination; the authority decides permission · Japanese primary guidance summarized in English; no individual admission assurance.
- Digital Agency · Visit Japan WebOfficial online arrival information service for immigration and Customs · Not a visa or mandatory app claim.
- Japan Customs · Passenger declarationAll passengers declare; electronic and paper Customs forms; inspection remains possible · Follow the procedure at your arrival airport.
- Japan Customs · Integrated kiosksCombined information submission at equipped airports; separate inspection steps · Terminal and traveler eligibility vary.
- MAFF Animal Quarantine Service · Meat productsAnimal-product import controls and quarantine · Item/origin-specific rules require current check.
- MAFF Plant Protection Station · Bringing plantsPlant, fruit and seed inspection before Customs where applicable · Item/origin-specific rules require current check.
- Haneda Airport · International arrival processArrival flow, baggage and airline reporting, quarantine and Customs · Haneda example, not a national floor plan.
- Narita Airport · International arrival processEntry, baggage, conditional quarantine, Customs and arrival lobby · Narita example; follow current terminal instructions.
- Kansai Airport · Arrival processKansai airport arrival and integrated-kiosk context · Terminal-specific; confirm current official path.
- Narita Airport · International-to-domestic transferDomestic transfer via immigration and public area at Narita · Other transfers differ; baggage process is airline-dependent.
- Haneda Airport · Transfer baggage FAQChecked-baggage handling on connections varies by airline · Ask the carrier for the actual ticket and route.
- Haneda Airport · Ground accessRail, bus, taxi and designated taxi stands · Current terminal, time, fare and pickup point must be checked.
- Narita Airport · Ground accessRail, bus and taxi options · Check route, timetable and final hotel access.
- Kansai Airport · Ground accessRail, bus and taxi options · Check current route and terminal.
- Haneda Airport · Baggage delivery countersAirport delivery counters exist; operator, location and hours vary · No same-day or hotel-acceptance guarantee.
- Kansai Airport · Late-night and early-morning guidanceLate-night access and accommodation options are airport-specific · Check actual last service, terminal and hotel booking.
Airport layout, airline baggage handling, declarations, transport times and hotel rules can change. Check the linked official sources, your airline and your booking for your actual arrival.